Quick Summary
To automate fulfillment, navigate to EasyParcel Shipping > Auto Fulfillment Setting in your WooCommerce admin panel. Switch Auto Fulfill to "YES," select your preferred courier, and choose between pickup or drop-off before clicking Save. Once active, new orders will process automatically and generate Air Waybills (AWBs) without manual entry, helping Singapore sellers reduce errors and speed up shipping workflows.
Automating your WooCommerce order fulfillment helps streamline your operations and cut down on time spent handling orders manually. With fewer manual steps, you can reduce human error, improve efficiency, and focus more on growing your business and serving your customers.
Order Fulfillment Logic:
- EasyParcel Shipping Method: If the buyer selected an EasyParcel shipping method at checkout, the system will automatically fulfill the order using the selected courier service.
- Non-EasyParcel Shipping Method: If a non-EasyParcel method is selected, the system will fulfill the order using the preferred courier service set in the system.
Step 1: Access EasyParcel's Plugin
If you haven't installed the EasyParcel plugin, learn how to integrate with EasyParcel here.
Step 2: Activate Auto Fulfillment Setting
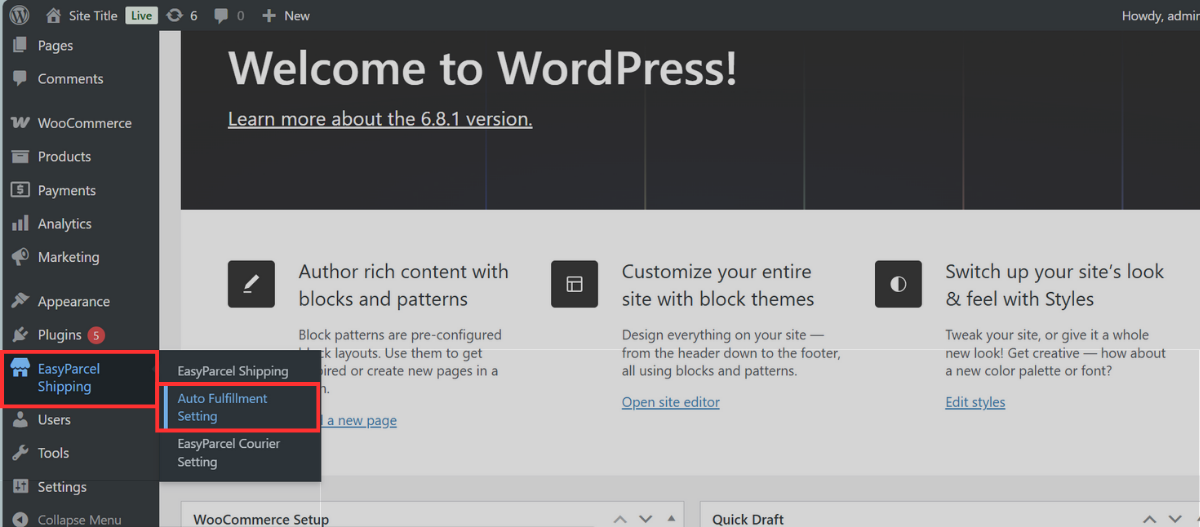
2.1: In your WooCommerce admin panel, click on EasyParcel Shipping > Auto Fulfillment Setting
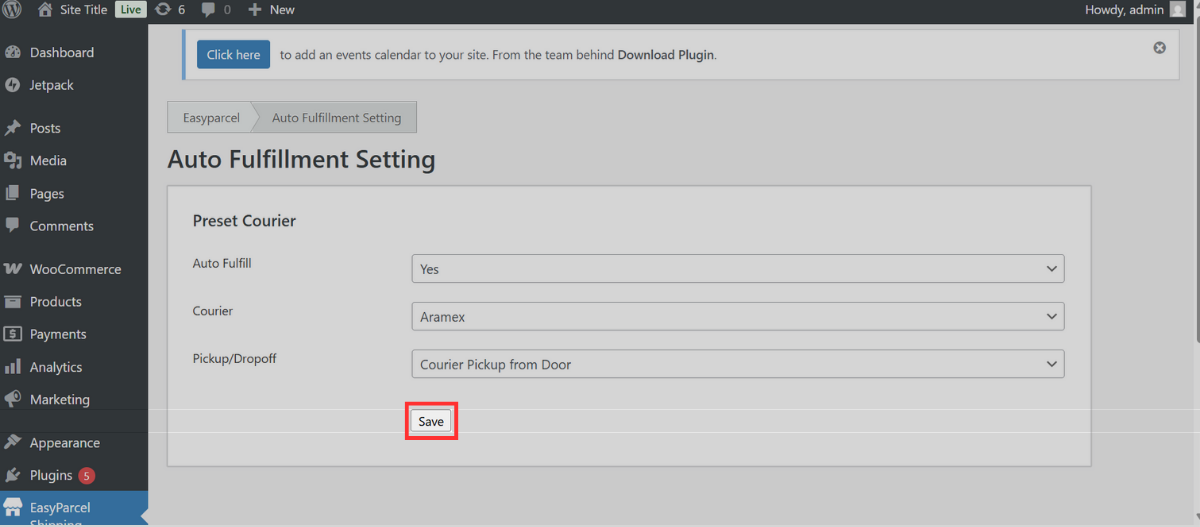
2.2: Click on Auto Fulfill and change the Auto Fulfill setting to YES.

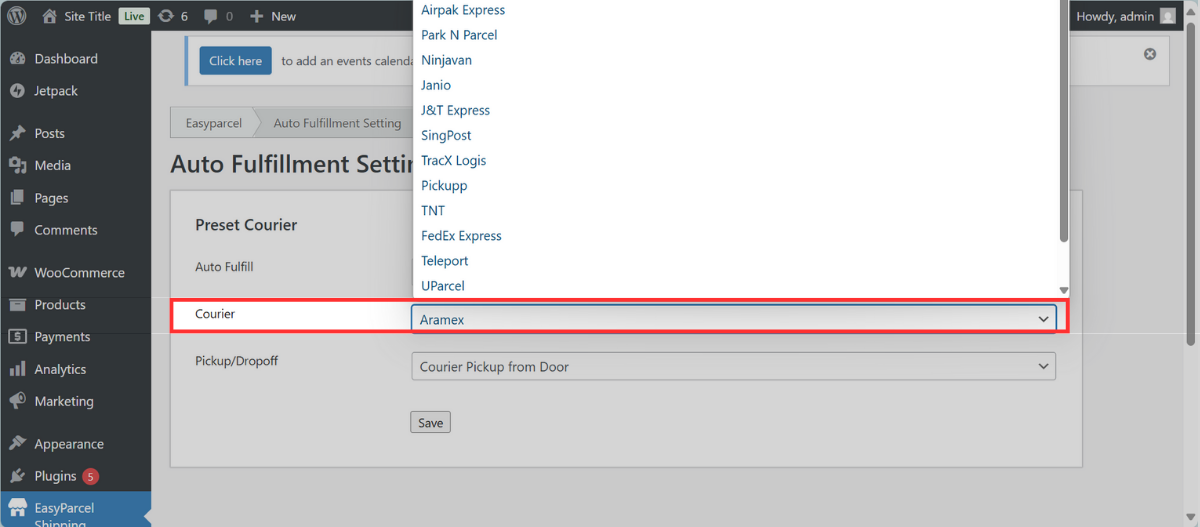
2.3: Click Courier and choose your preferred courier service from the drop-down menu for automated order processing.
2.4: Select Pickup/Dropoff and choose whether you prefer order pickups or drop-offs.

2.5: Click the Save button.
Step 3: Automated order processing & shipping label generation
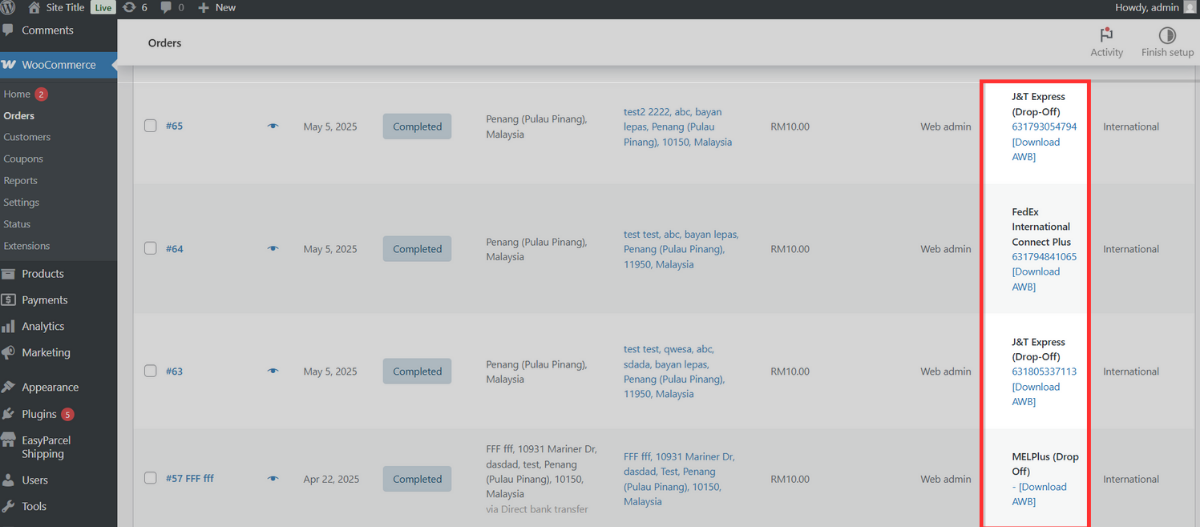
Once your auto-fulfillment settings are enabled in the EasyParcel plugin, new WooCommerce orders will be processed automatically. Shipping labels (AWBs) will also be auto-generated.
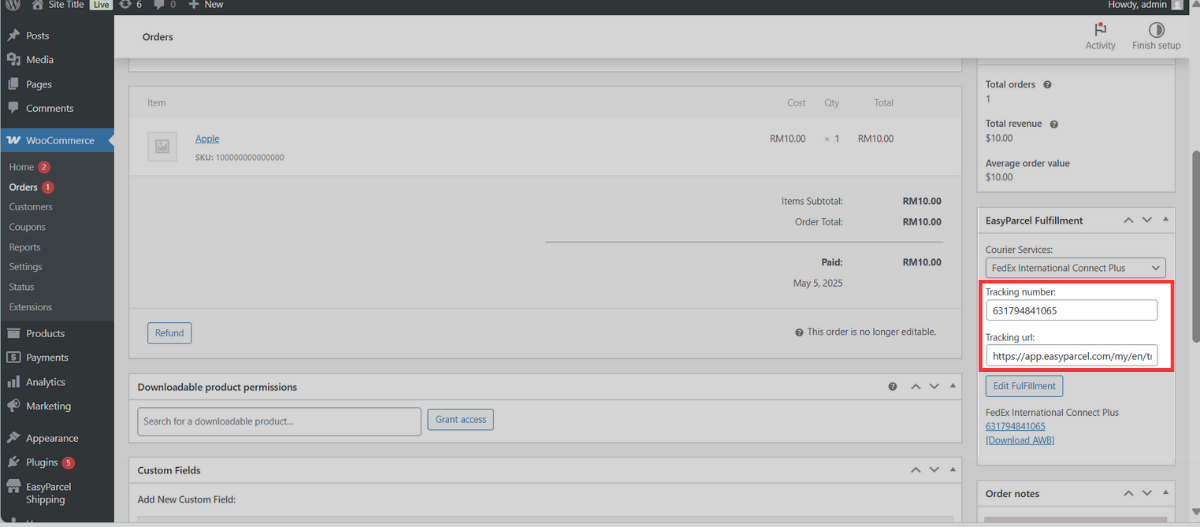
3.1: The tracking numbers will be available within the order details.
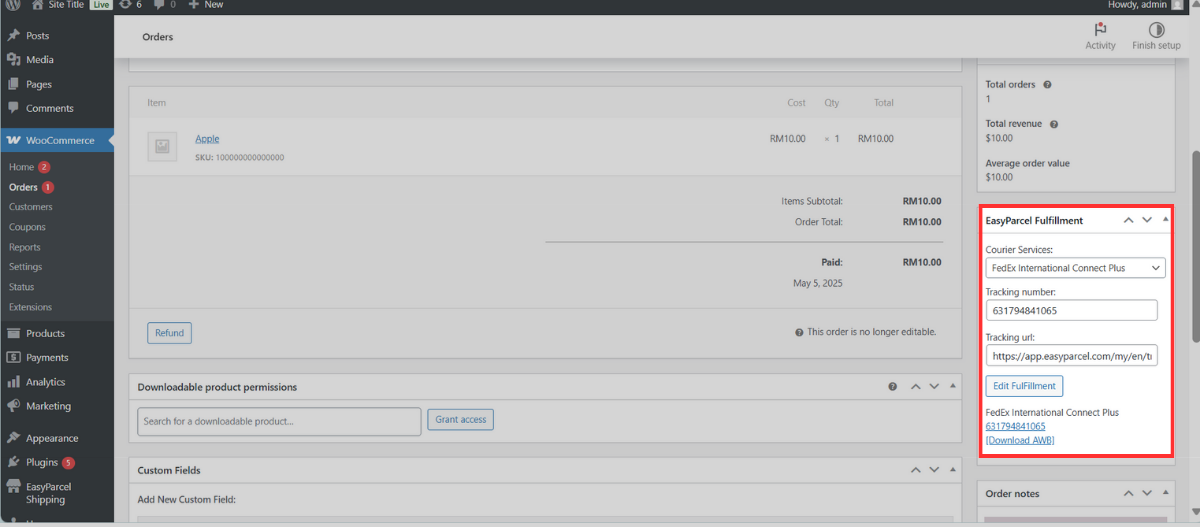
3.2: Download the Air Waybill (AWB) to print and attach the shipping labels to your parcel.
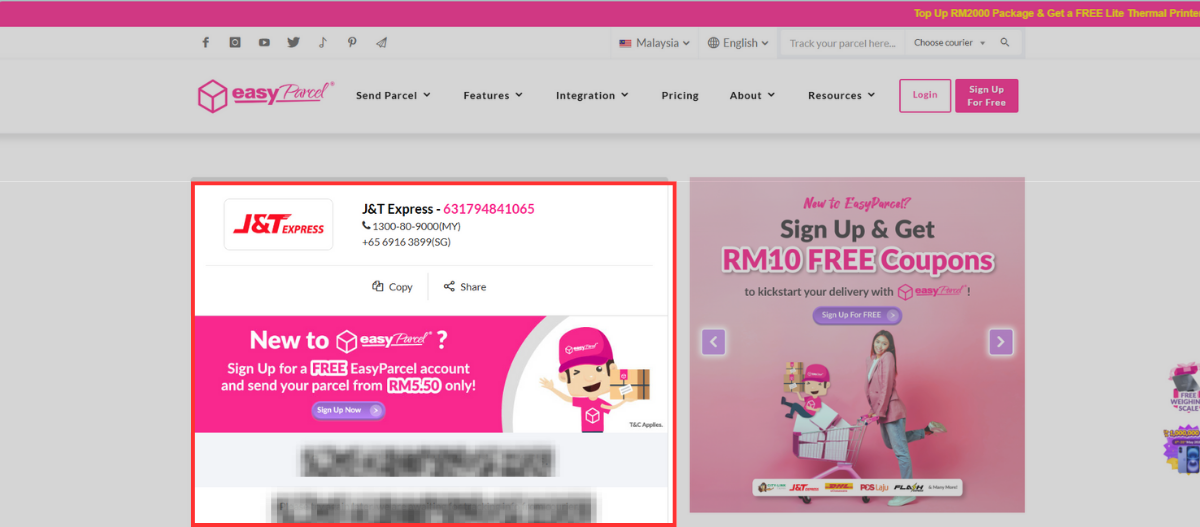
3.3: You can monitor your parcel's delivery status directly from EasyParcel's EasyTrack with your tracking URL.
Don't know how to fulfil WooCommerce orders via EasyParcel plugin? You may learn here.
And there you have it! You've just mastered integrating EasyParcel with WooCommerce. We're really excited for you! We hope this guide was helpful but if you still have questions, don't worry – we've got you covered. Check out our other articles or reach out to our friendly support team. We're happy to help you every step of the way!