Quick Summary
To display only selected shipping options, navigate to EasyStore Admin > Settings > Shippings & Pickup and manually set up your preferred shipping zones and rates. You must then disable the EasyParcel Rate App to prevent it from automatically listing all available couriers. Once orders are placed using your manual rates, you can export them to EasyParcel SG for fulfillment to enjoy competitive member rates and efficient shipping.
If you want to simplify your checkout experience for customers by displaying only selected shipping options, EasyStore allows you to manually configure this without using the EasyParcel Shipping App. Once orders are placed, you can still fulfill them through EasyParcel to enjoy competitive shipping rates.
If you haven't installed the EasyParcel apps, learn how to integrate with EasyParcel here.

Step 1: Set up selected shipping options
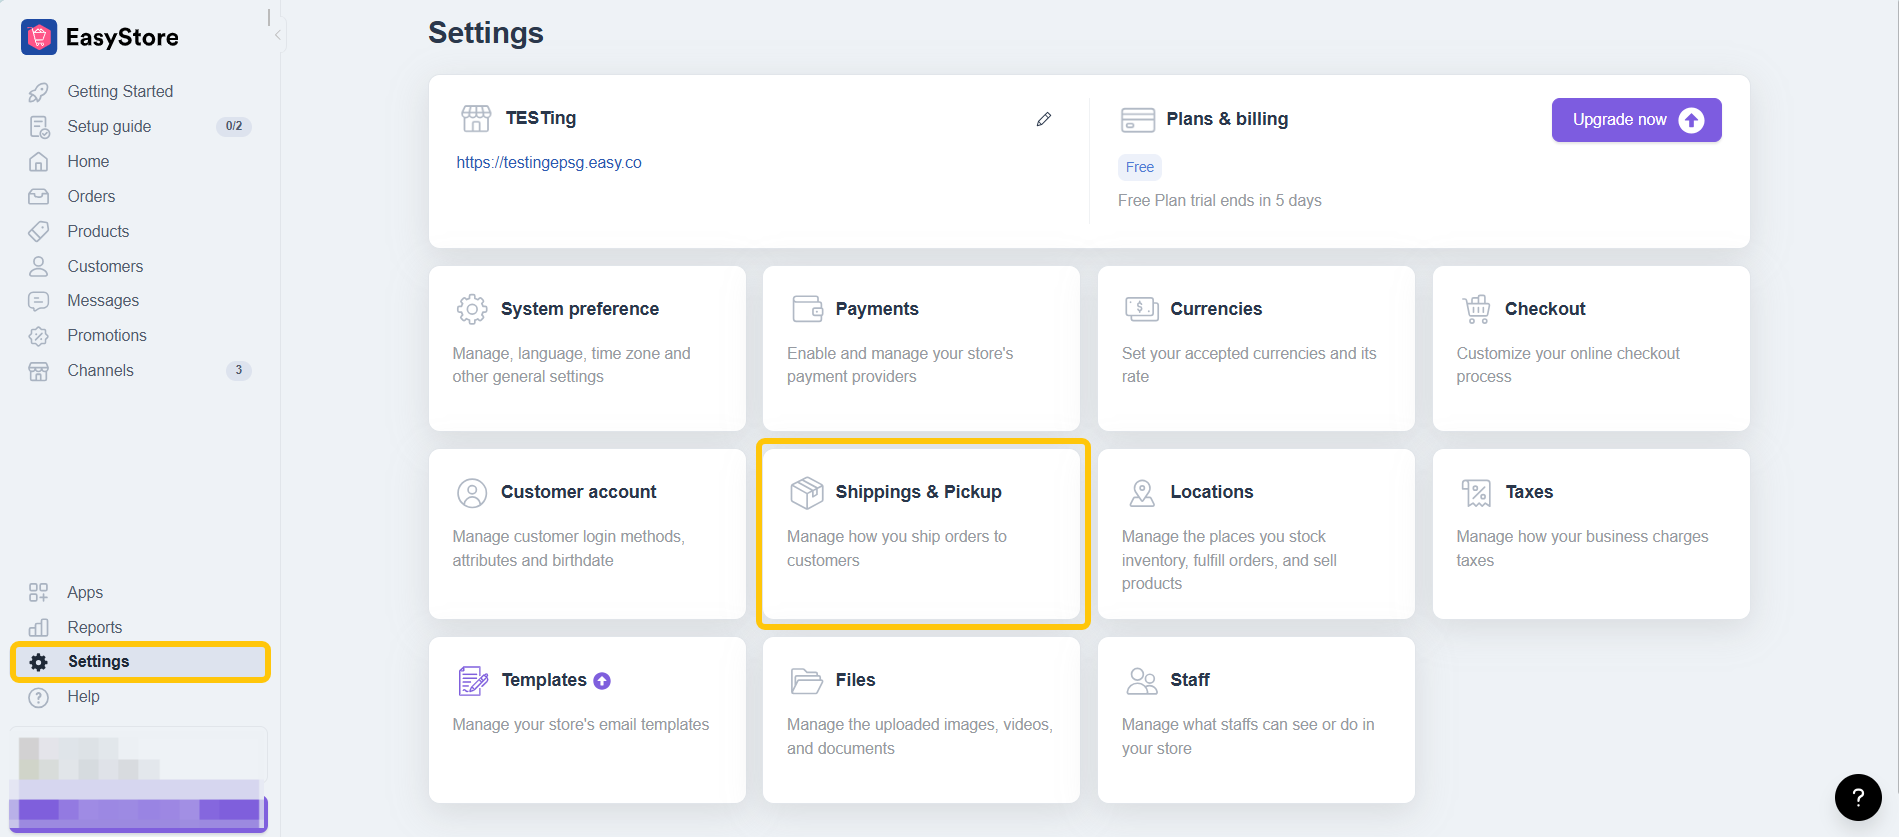
1.1: Navigate to Settings, click Shippings & Pickup
1.2: Click Add zones and rates to set up.

1.3: Select your shipping destinations and name your zone.

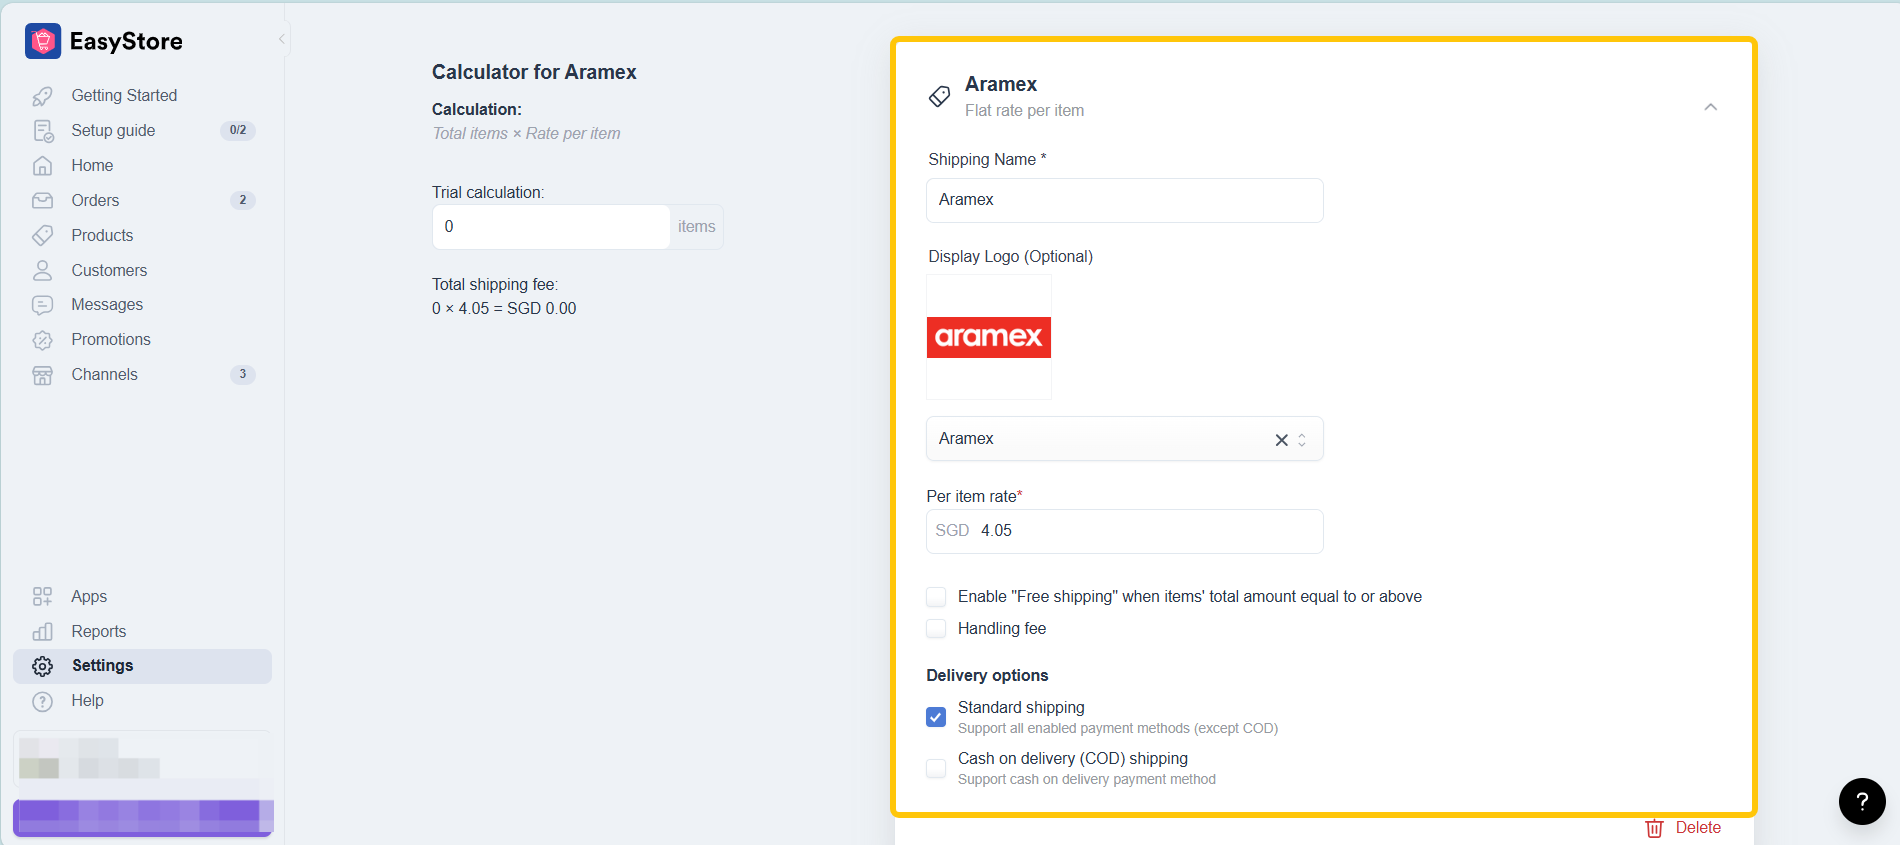
1.4: Choose your preferred methods and rates, and fill in all the details. Click Save once you're done setting.

Remember to disable your EasyParcel Apps on your EasyStore.
Note: When using this manual method, real-time rates from EasyParcel won’t appear at checkout. You’re fully in control of what’s shown to the customer.

Your selected courier service will display on your checkout page:

Step 2: Export EasyStore orders
Although you’re not showing EasyParcel live rates at checkout, you can still use EasyParcel to fulfil the orders. Here’s why that’s helpful:
2.1: Navigate to EasyStore > Orders, select the orders you want to fulfill.

2.2: Click the bottom right and select Export orders.

2.3: Click Export, then your orders will export in CSV format.

Step 3: Fulfill your orders via EasyParcel
You can read more about bulk parcel shipments here.
And that’s it! Your EasyParcel integration with EasyStore is now complete. We hope this guide made the process easier for you. If you need further assistance, feel free to browse our help articlesor contact our support team — we’re here to help.